How to Make Arrows in Powerpoint 2013 TUTORIAL
How to Make Arrows in Powerpoint 2013
Lesson 18: Shapes and WordArt
/en/powerpoint2013/formatting-pictures/content/
Introduction
There are many features and commands you can use in PowerPoint to create visually appealing slides. 2 of these features are WordArt and shapes. WordArt allows you to create stylized text with furnishings such as textures, shadows, and outlines. Yous can also insert and change a multifariousness of shapes similar rectangles, circles, lines, arrows, callouts, and stars.
Optional: Download our do presentation.
About WordArt
PowerPoint allows you lot to add effects to the text within of a text box, which is known as WordArt. For the most part, the types of effects you can add together are the same as the ones you can add together to shapes and text boxes (shadow, bevel, etc.). Still, with WordArt, you tin besides Transform the text to give it a wavy, slanted, or inflated look.
To employ a WordArt manner to text:
A WordArt Style will automatically use several furnishings to your text at once. You can then refine the wait of your text past calculation or modifying text effects.
- Select a text box, or select some text inside of the text box.
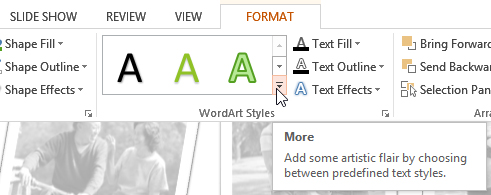
- On the Format tab, click the More drib-downward pointer in the WordArt Styles group.
 Clicking the More drop-down arrow
 - A drop-down menu of WordArt Styles will appear. Select the style you want to use.
 Selecting a WordArt Fashion
 - The text volition announced in the selected fashion. If desired, you tin change the font or font color from the Abode tab.
To add or modify text furnishings:
- Select a text box, or select some text inside of the text box. The Format tab volition appear.
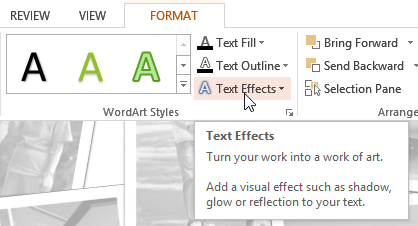
- On the Format tab, click the Text Effects command in the WordArt Styles group.
 Clicking the Text Effects command
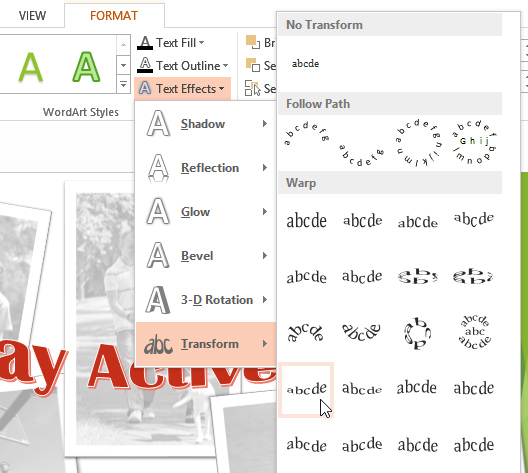
 - A drop-down carte will appear showing the different effect categories. Hover the mouse over an issue category, then select the desired event from the menu that appears.
 Adding an issue
 - The effect will exist applied to your text. If you lot want, you can combine several dissimilar furnishings.
 The finished WordArt
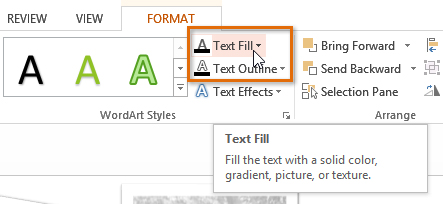
In the WordArt Styles group, y'all tin can also apply the Text Fill and Text Outline drop-downward boxes to modify the fill and outline colour.
 Changing the text fill color
Working with shapes and text boxes
PowerPoint'due south large shape collection allows you to organize and pattern the paradigm you want. While you may not need shapes in every presentation y'all create, they can add together visual entreatment.
To insert a shape:
- Select the Insert tab, then click the Shapes command in the Illustrations group. A drop-downwards bill of fare of shapes will appear.
- Select the desired shape.
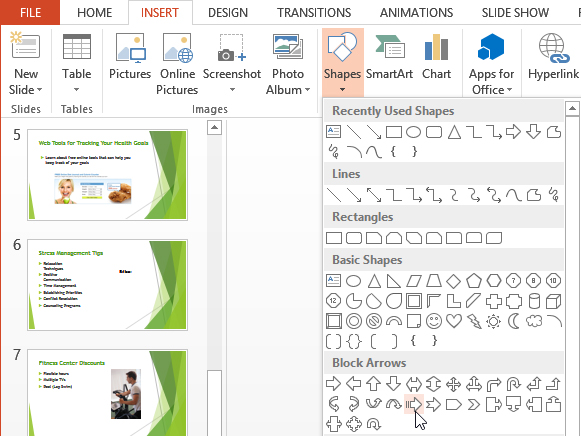 Selecting a shape
 - Click, hold, and elevate in the desired location to add the shape to the slide.
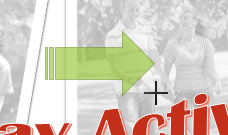 Inserting a new shape
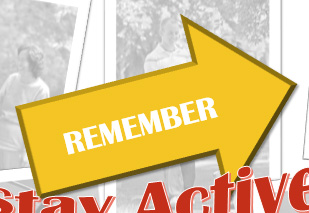
If desired, you can enter text in a shape. When the shape appears in your document, you lot can only brainstorm typing. You can so use the formatting options on the Home tab to change the font, font size, or color of the text.
![]() Entering text in a shape
Entering text in a shape
Modifying a shape or text box
When you click a shape or text box, handles will appear that let you lot manipulate the shape. There are several types of handles:
- Sizing handles: Click, concord, and drag the sizing handles until the shape or text box is the desired size. You can apply the corner sizing handles to alter the height and width at the same fourth dimension.
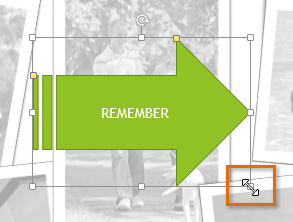 Resizing the shape
 - Yellow handles: Some shapes have one or more yellow handles that can exist used to customize the shape. For case, with arrow shapes you can adjust the width of the line and arrow tip.
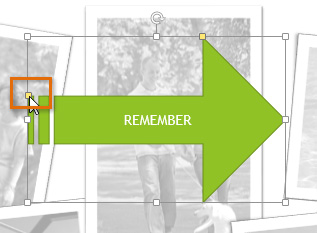 Modifying the shape
 - Rotation handle: Click, hold, and drag the rotation handle to rotate the shape.
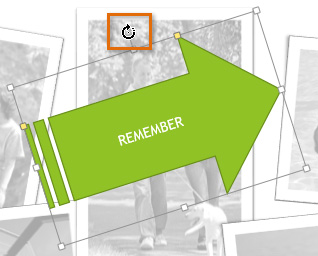 Rotating the shape
In improver to resizing, customizing, and rotating shapes, you can align, club, and group them. To larn more, visit our lesson on Arranging Objects.
Formatting shapes and text boxes
PowerPoint allows you to modify shapes and text boxes in a multifariousness of means then you can tailor them to your projects. You can change shapes and text boxes into different shapes, format their style and colour, and add shadow furnishings.
To change to a dissimilar shape:
- Select the shape or text box you desire to change. The Format tab volition announced.
- On the Format tab, click the Edit Shape command. In the menu that appears, hover the mouse over Change Shape and select the desired shape.
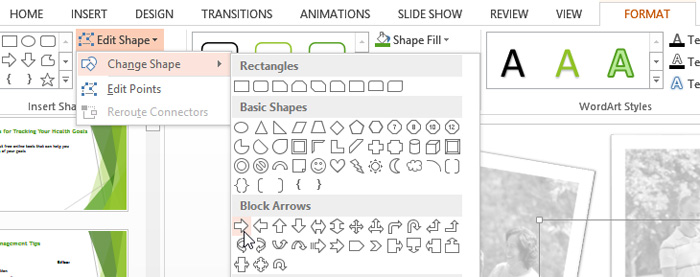 Changing a shape
 - The new shape will appear.
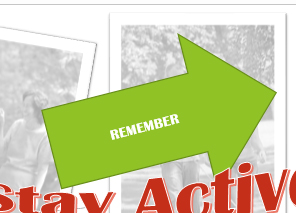 The new shape
To change the shape style:
Choosing a Shape Style allows yous to apply preset colors and furnishings to quickly alter the advent of your shape or text box.
- Select the shape or text box you lot want to modify.
- On the Format tab, click the More drib-downwardly arrow in the Shape Styles grouping.
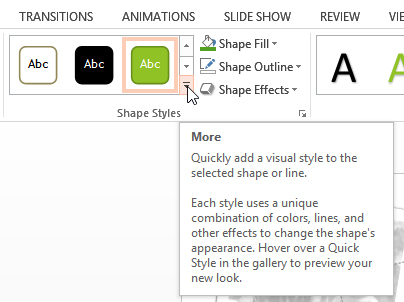 Clicking the More drop-down arrow
 - A driblet-down menu of styles volition appear. Select the style yous desire to use.
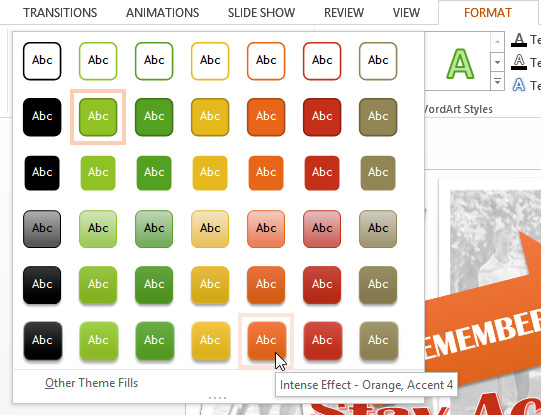 Selecting a shape style
 - The shape or text box will appear in the selected mode.
To change the shape fill up colour:
- Select the shape or text box yous want to modify.
- On the Format tab, click the Shape Fill driblet-down arrow. The Shape Fill menu appears.
- Motility the mouse over the various colors. Select the color yous want to use. To view more colour options, select More Fill Colors.
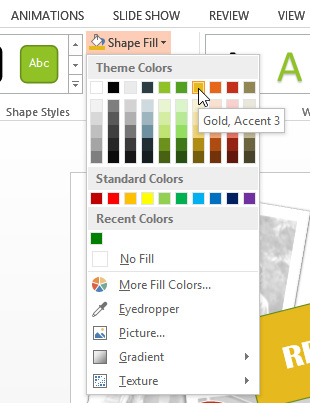 Changing the shape fill color
 - The shape or text box will appear in the selected color.
If you desire to use a different type of fill, select Gradient or Texture from the drop-downward menu. You lot can also select No Make full to make it transparent.
To change the shape outline:
- Select the shape or text box you desire to change.
- On the Format tab, click the Shape Outline drop-down arrow. The Shape Outline carte volition appear.
- Select the colour yous desire to use. If yous want to make the outline transparent, select No Outline.
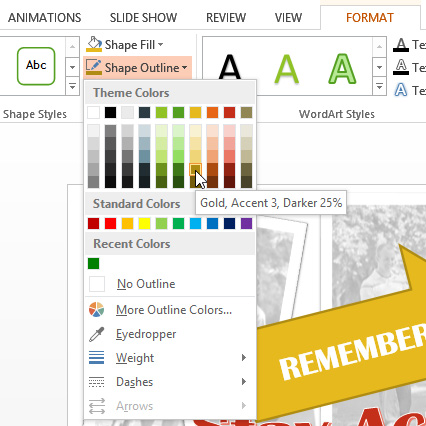 Irresolute the shape outline color
 - The shape or text box volition appear in the selected outline color.
From the driblet-downward menu, y'all can change the outline color, weight (thickness), and whether or not information technology is a dashed line.
 A thicker outline
To change shadow effects:
Calculation a shadow to a shape can make it announced as though information technology is floating above the page, and it tin can help to add contrast betwixt the shape and the background.
- Select the shape or text box you want to modify.
- On the Format tab, click the Shape Effects drop-down arrow. In the menu that appears, hover the mouse over Shadow and select the shadow you want to use.
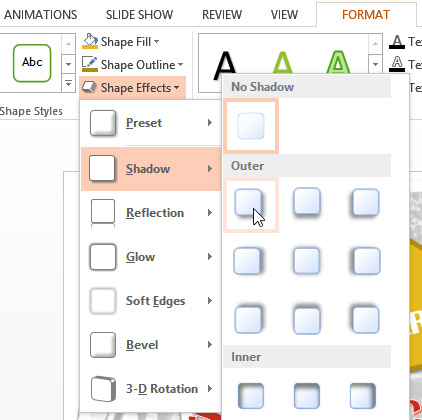 Choosing a shadow type
 - The shape volition announced with the selected shadow.
To adjust the shadow colour, size, and distance, select Shadow Options from the drop-down menu. The Format Shape pane will appear on the right side of the PowerPoint window, allowing you lot to customize the shadow.
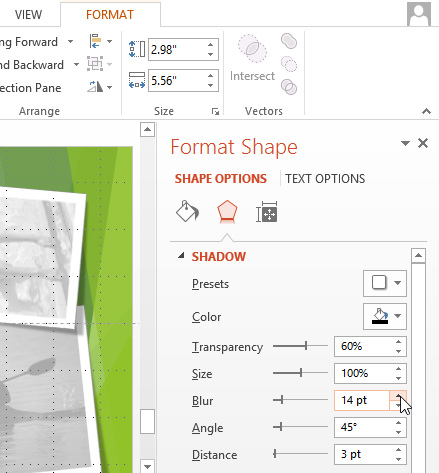 The Format Shape pane
3D effects
There are two types of effects y'all tin can apply to your shapes and text boxes to give them a 3D appearance: Bevel and 3-D Rotation. Bevel adds thickness and a rounded border to shapes, simply information technology doesn't work with every type of shape. 3-D Rotation gives the advent that you are viewing the object from a unlike angle, and information technology can exist practical to any shape.
To add a bevel:
- Select the shape or text box you want to change.
- On the Format tab, click the Shape Effects drop-downward pointer. In the menu that appears, hover the mouse over Bevel and select the desired bevel preset.
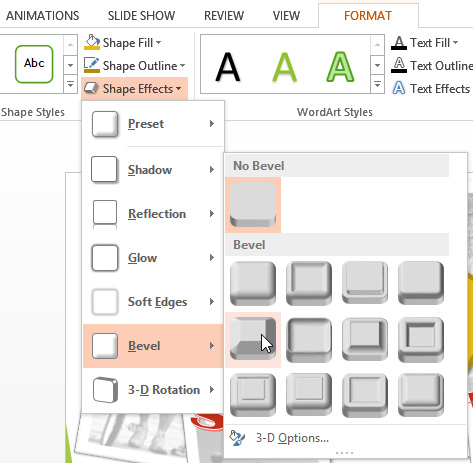 Choosing a bevel preset
 - The shape will appear in the selected bevel effect.
 The beveled shape
If y'all want, you can customize the bevel effect. Select 3-D Options from the drop-down menu. The Format Shape pane will appear on the right side of the PowerPoint window. From here, you can modify the width, height, and depth of a bevel. Yous can also change the shape'southward material to give it a metal, plastic, or translucent appearance, as well equally choose the lighting blazon to change how the shape is illuminated.
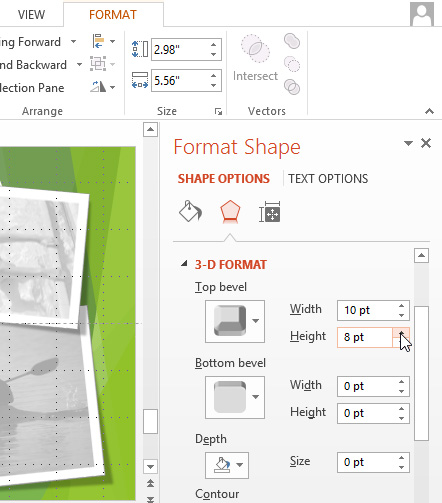 Customizing the bevel
To add 3-D Rotation:
- Select the shape or text box you lot desire to change.
- On the Format tab, click the Shape Effects drop-down arrow. In the menu that appears, hover the mouse over 3-D Rotation and select the desired 3D effect.
 Choosing a 3-D rotation event
 - The shape will appear in the selected 3D rotation outcome.
If you want, you can customize three-D Rotation. Select iii-D Rotation Options from the drop-down menu, and the Format Shape pane will appear on the right side of the PowerPoint window. From hither, y'all can accommodate the rotation values.
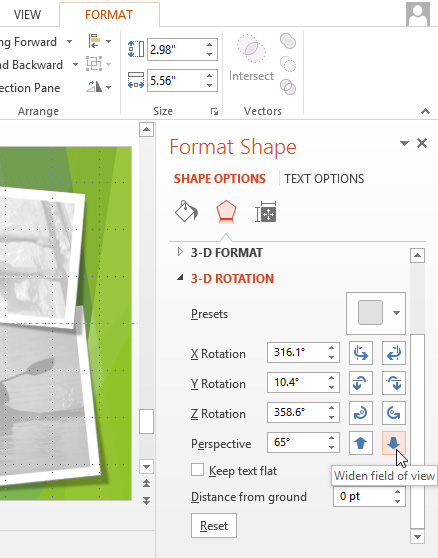 Customizing the 3-D rotation
Challenge!
- Open an existing PowerPoint presentation. If you lot want, you lot can download our practice presentation.
- Add some WordArt effects to the text. If you are using the example, use the text on slide 6.
- Insert a shape.
- Alter the shape to a dissimilar shape.
- Change the fill color.
- Change the outline color.
- Try various shadow effects.
- Try various 3D effects.
/en/powerpoint2013/arranging-objects/content/
DOWNLOAD HERE
How to Make Arrows in Powerpoint 2013 TUTORIAL
Posted by: melanieungazintonat.blogspot.com


Comments
Post a Comment